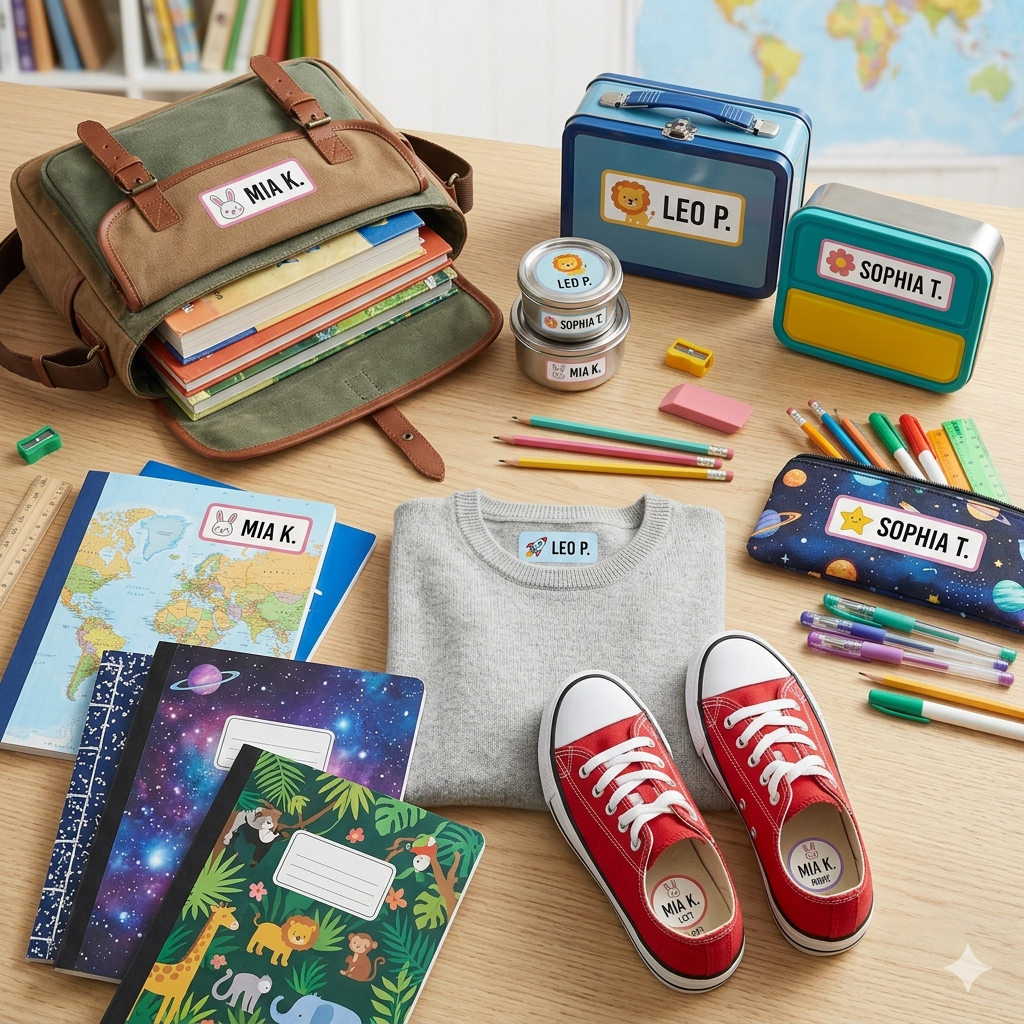
Lunch boxes are some of the hardest-working items in a school bag. They’re opened, closed, dropped, washed and refilled every single day, and when they go missing, it’s usually with three containers and an ice pack inside. A label helps them come home, but only if it stays on. Here’s how to label a school lunch box so the label lasts all year.
Why lunch box labels fall off
Most labels that fail do so for one of a few reasons:
- They weren’t made for water. Paper labels and tape break down in the sink or dishwasher.
- The surface wasn’t clean. A thin film of oil from food or hand cream stops adhesive from bonding.
- They’re in the wrong spot. Labels on hinges, seals or textured areas get rubbed and lifted.
- They went in the wash too soon. Adhesive needs time to set before its first hot wash.
Step 1: Choose a waterproof, dishwasher-safe label
Lunch gear gets washed daily, so the label has to handle it. BunnyTagz waterproof name labels are dishwasher-safe and BPA-free, so they belong on the containers your child eats from every day.
Pick the shape to suit the item:
- Lunch boxes and bento boxes: square labels on the lid or front.
- Snack containers and small jars: mini rectangle labels or round polka dot labels.
- Thermoses and water bottles: mini rectangle labels that sit flat on the curve.
Step 2: Prep the surface
- Wash the item with warm, soapy water to remove oils.
- Dry it completely. Even a little moisture can stop the label from bonding.
- Apply at room temperature. Very cold containers straight from the fridge can collect condensation.
Step 3: Place it in the right spot
- Choose a smooth, flat area away from hinges, clips and rubber seals.
- On soft lunch bags, label the inside tag or a smooth panel rather than fabric that flexes.
- Label lids separately from containers. Lids are the first thing to go missing.
Step 4: Press and wait
Press the label firmly from the centre out to remove air bubbles, paying attention to the edges. Then wait about a day before the first dishwasher run, so the adhesive has time to set.
Labelling the whole lunch kit
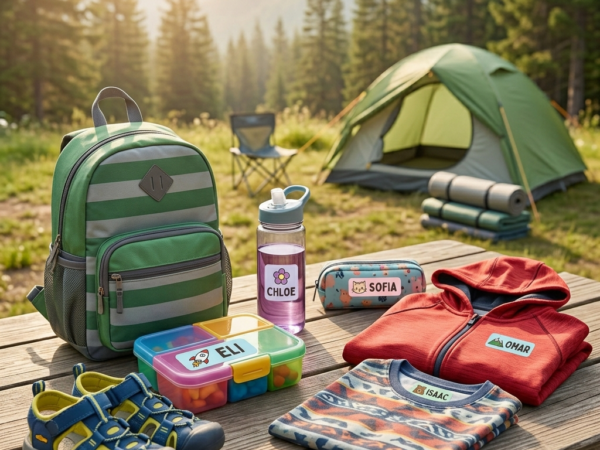
A full lunch kit is more than the box. Label:
- The lunch box or bag
- Every container and its lid
- The thermos and water bottle
- Reusable cutlery and ice packs
Using the same colour and icon across every piece makes it easy for your child to gather their own things at the end of lunch.
If your child has a food allergy
An allergy alert label on the lunch box tells lunch supervisors and supply teachers about the allergy at a glance. It’s a helpful reminder, but always share your child’s allergy action plan directly with the school.
Labels for containers that change
If you rotate containers or want to add a note, write-on labels let you write, wipe clean and reuse.
Frequently asked questions
Can I put labels on soft lunch bags?
Yes. Place the label on an inside tag or a smooth panel that doesn’t flex much, rather than on fabric that bends with every opening.
How long should I wait before washing a labelled container?
About a day. That gives the adhesive time to set before its first hot wash.
Will labels stick to stainless steel containers?
Yes, on a clean, dry, smooth surface. Press firmly from the centre out and pay attention to the edges.
Should I label lids separately?
Yes. Lids get separated from containers all the time, so give each lid its own label.
Get the lunch kit labelled
See every option on our lunch box labels page, or start with the Mini Essentials Waterproof Pack for a mix of shapes. For bottles, our water bottle labels page has you covered. Shipping is free across Canada.
Leave a Reply