
Ski hills and rental lockers are full of identical helmets, black gloves and look-alike goggles. A clear name label is the easiest way to get your child’s gear back from a lodge bench, a lesson group or the lost and found. Here is what to label, where to put the label, and which kind of label to use on each item.
What to label for ski and snowboard days
- Helmet
- Goggles and goggle case
- Gloves or mitts (both of them)
- Neck warmer and toque
- Ski jacket and snow pants
- Base layers and spare socks
- Ski or snowboard boots
- Poles, skis and snowboard
- Boot bag or backpack
- Water bottle and snack containers
Where to put the label on each item
Helmet
Stick a waterproof label on the inside of the helmet shell, on a smooth, clean spot away from the padding and straps. Inside the shell, the label is protected from bumps and still easy to check.
Goggles
Label the strap’s inner side or the goggle case rather than the lens or the foam. Goggles get set down in the lodge constantly, so a labelled case helps too.
Gloves and mitts
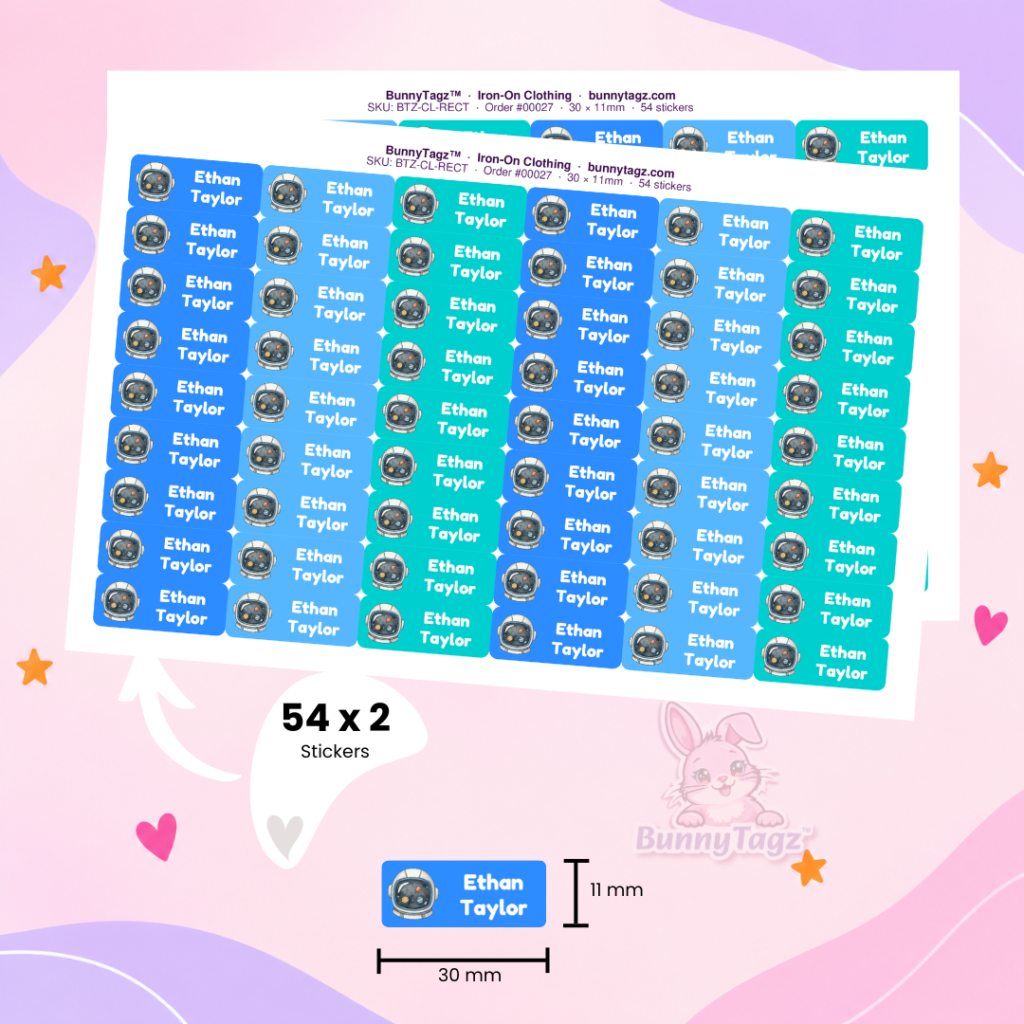
Use an iron-on label on the inside cuff or the care tag of each glove. Kids take gloves off on every chairlift and lunch break, so label both, not just one.
Jacket, snow pants and layers
Put iron-on clothing labels on the care tag or an inside seam. Many ski jackets and snow pants have a waterproof coating or membrane, so check the garment’s care label first and only iron where heat is allowed. If the tag says no ironing, label a fabric tag or the inside pocket instead.
Boots
Stick a shoe label inside each boot liner, on the heel area. Rental-style boots all look alike in a boot room.
Skis, poles and snowboard
Use waterproof labels on a flat, clean spot near the binding or on the pole shaft below the grip. Avoid the base of skis and boards.
Iron-on or stick-on?
Our waterproof name labels are dishwasher-safe and microwave-safe, so they also cover the water bottle and snack containers in the ski bag. For clothes, see our iron-on clothing labels, and for boots, our shoe labels.
How to apply labels so they last
- Stick-on labels: apply to a clean, dry surface at room temperature and press firmly from the centre out. Let them set for 48 to 72 hours before the gear goes out in the snow.
- Iron-on labels: use a household iron with steam off, cover the label with thin paper or a thin cotton cloth, and press for 10 to 20 seconds. Wait 48 to 72 hours before the first wash.
Label gear a few days before the first ski day, not the night before, so everything has time to set.
Smart tips for ski families
- Add a small icon next to your child’s name. Younger kids spot their own gear faster by the picture.
- Don’t put permanent labels on rental equipment. Label your own bag and clothing instead.
- Keep a spare pack of labels for new gloves and toques bought mid-season.
More winter labelling guides
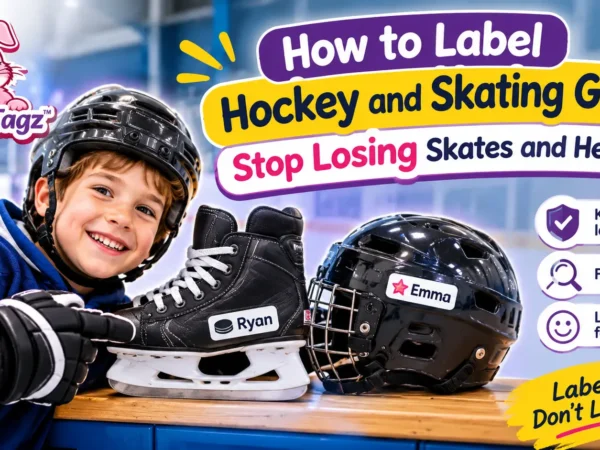
Getting ready for the whole season? See how to label kids’ winter gear and how to label hockey and skating gear.
Leave a Reply